Search This Blog

Friday, May 10, 2013

STAIRSCASES PART 1


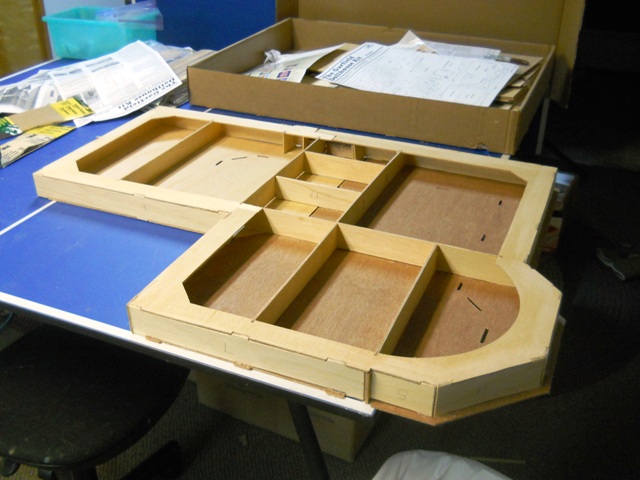
The next step on the directions call for the staircases.  I was kind of surprised to find them next.  This will be a totally different kind of construction.  It will be a more intricate miniature construction.  So that’s good to jump right in to. 


I made a trip to Home Depot to pick up my supplies.  I will be staining with minwax and a picked a maple shade.  I also grabbed some brushes, a sanding block and some wood glue.  My husband had a nice surprise when I got home!  He got me a fancy X-actto knife set.   I also remembered we had a Dremel toolkit in the garage!  This will be awesome to have for this project.  It will work great for sanding the staircases.
 The first step was to locate the correct pieces and then punch them out.  I got to use one my new xacto knives ! 
 
 Then the sanding process. Here I am using the sanding block. 
 
 
All done sanding.


Then it was on to staining. 


I picked the Maple color because I thought about the type of wood that would be used in the Pacific Northwest at the turn of the last century.  We certainly have a lot of Maple wood in that area and I like the red/ golden tint it has. 
 
Here is the finished product.
 
 I still have more construction and woodworking to do on the staircases.   My next post will be the actual stairs and risers and possibly the banisters.  Stay tuned!

Wednesday, May 8, 2013

Laying the Foundation


Last Saturday I decided it was time to dive in and start this building project. Saturday morning I gathered up my building supplies.  I bought a few things at the local craft store. 


Ruler
Masking tape
Hot glue gun.
Exacto knife
Clamping tape
Fine Sandpaper
Pencils
Pinking shears
 
I am determined to stay very organized or I can see that it would get very overwhelming.  Zip Lock bags and small bins do the job.  I also found I needed a sharpie and scissors.


 First of course of action is to construct the foundation.  All of the pieces to the house are precisely cut out and located on a schematic.  The directions tell you which pieces to punch out on what particular numbered sheet.  The tool to use for this is the exacto knife because if you try and punch them out alone, it is too easy to break the piece.  I made sure that when I punched them out I marked them all as I went.
 
 It took me awhile at first to get accustomed to understanding the directions.  After awhile of trying to wrap my brain around it, something finally clicks and I “Get it”.

Here is a photo of the completed foundation.  I’ve  fitted and glued all of the tabs and slots.  Next I sanded it all down to smooth it out.


When it is flipped over, the 1st. floor is reveled.


Stay tuned!  Next up are the staircases.


Tuesday, May 7, 2013

It's Here!


My house arrived on May 2nd. 
 
 
 I had picked out the “Garfield” by Greenleaf years ago.  I liked that it was roomy, the wrap-a-round porch and the 3 story gable.  This is the largest dollhouse they make.  This house is a 1” scale which means that 1 “ is equal to one foot of a real size house. I am so excited that I finally decided to take on this project.  As I opened the box to take a look I must admit I became somewhat intimidated.  I skimmed through the directions and began to realize that this was going to be more of a challenge than I thought.

Monday, May 6, 2013

My Love For Old Houses

I have always been in love with old Victorian style homes.  When I was in my early 20's I lived in a old neighborhood in my hometown of Spokane, WA. and it was  filled with lovely old Victorian  style homes.  I told myself one day I would buy one and fix it up.  Knowing that the possibilities of me actually fufillng my dreams anytime soon were impossible , I decided to restore a dollhouse I found at an antique store.  I fell in love with the project.  It became a passion.  I felt like a contractor overseeing the restoration of my old Victorian home.  Unfortunately, due to certain circumstances,  I ended up selling this home before It was complete.  I spent some time over seas but still kept this dream on my "Bucket List."

 Long story short I married a man from Alaska. Unfortunately there are no lovely Victorian homes to be found up here to restore .  So the next best alternative?  I purchased a dollhouse! 

As I said before this is a true passion of mine.  Something on my "Bucket List" if you will.  I decided to chronicle it.  I will share it with all who may have interest, otherwise this blog is the chronicle of  my little Victorian dream.